This page comes from my Spring AI book.
The complete source is available on GitHub JavaAIDev/spring-ai-ag-ui.
AG-UI
AG-UI is an open interface and protocol designed for building chat and agent-based user interfaces that can connect to different AI agent runtimes. It standardizes how frontends communicate with agent backends, enabling features like streaming responses, tool calls, agent state updates, and multi-step workflows in a consistent way.
AG-UI focuses on separating the UI layer from the agent runtime, allowing developers to build reusable chat interfaces (often in frameworks like React) that can work with various agent systems. This makes it easier to integrate complex agent capabilities—such as tool usage, planning, and multi-turn reasoning—into applications while keeping the frontend lightweight and flexible.
To integrate AG-UI with Spring AI, we can use AG-UI Java SDK and Spring AI integration.
Create Agent
Agents can be created using builder of SpringAIAgent. In the code below, an SpringAIAgent is created with a system message.
@Configuration
public class AgentConfig {

  @Bean
  public SpringAIAgent chefAgent(ChatModel chatModel) throws AGUIException {
    return SpringAIAgent.builder()
        .agentId("chef")
        .chatModel(chatModel)
        .systemMessage("You are a master chef.")
        .build();
  }
}
AG-UI API
A REST controller is created to provide AG-UI compatible API endpoint. In the code below, the /agent endpoint handles AG-UI requests. AgUiParameters represents the request body to run an agent. This kind of requests are handled by the runAgent method of AgUiService.
@RestController
public class AgentController {

  private final AgUiService agUiService;
  private final SpringAIAgent chefAgent;

  public AgentController(AgUiService agUiService, SpringAIAgent chefAgent) {
    this.agUiService = agUiService;
    this.chefAgent = chefAgent;
  }

  @PostMapping("/agent")
  public SseEmitter run(@RequestBody AgUiParameters params) {
    return agUiService.runAgent(chefAgent, params);
  }
}
Run the Spring Boot application to start the agent.
Frontend
Frontend is implemented using CopilotKit.
We can use CopilotKit CLI to quickly create an webapp.
npx copilotkit@latest create
In the api/copilotkit/route.ts file, we need to update the agent URL to http://localhost:8080/agent. HttpAgent is used to connect to the Spring AI agent. Make sure that HttpAgent is imported from the @ag-ui/client package. The agent is set to chefAgent.
import {HttpAgent} from "@ag-ui/client";

const runtime = new CopilotRuntime({
  agents: {
    "chefAgent": new HttpAgent({
      url: process.env.AGENT_URL || "http://localhost:8080/agent",
    }),
  },
});
In the layout.tsx file, we set the value of agent property to chefAgent to match the id specified when creating the CopilotRuntime.
<CopilotKit runtimeUrl="/api/copilotkit" agent="chefAgent">
    {children}
</CopilotKit>
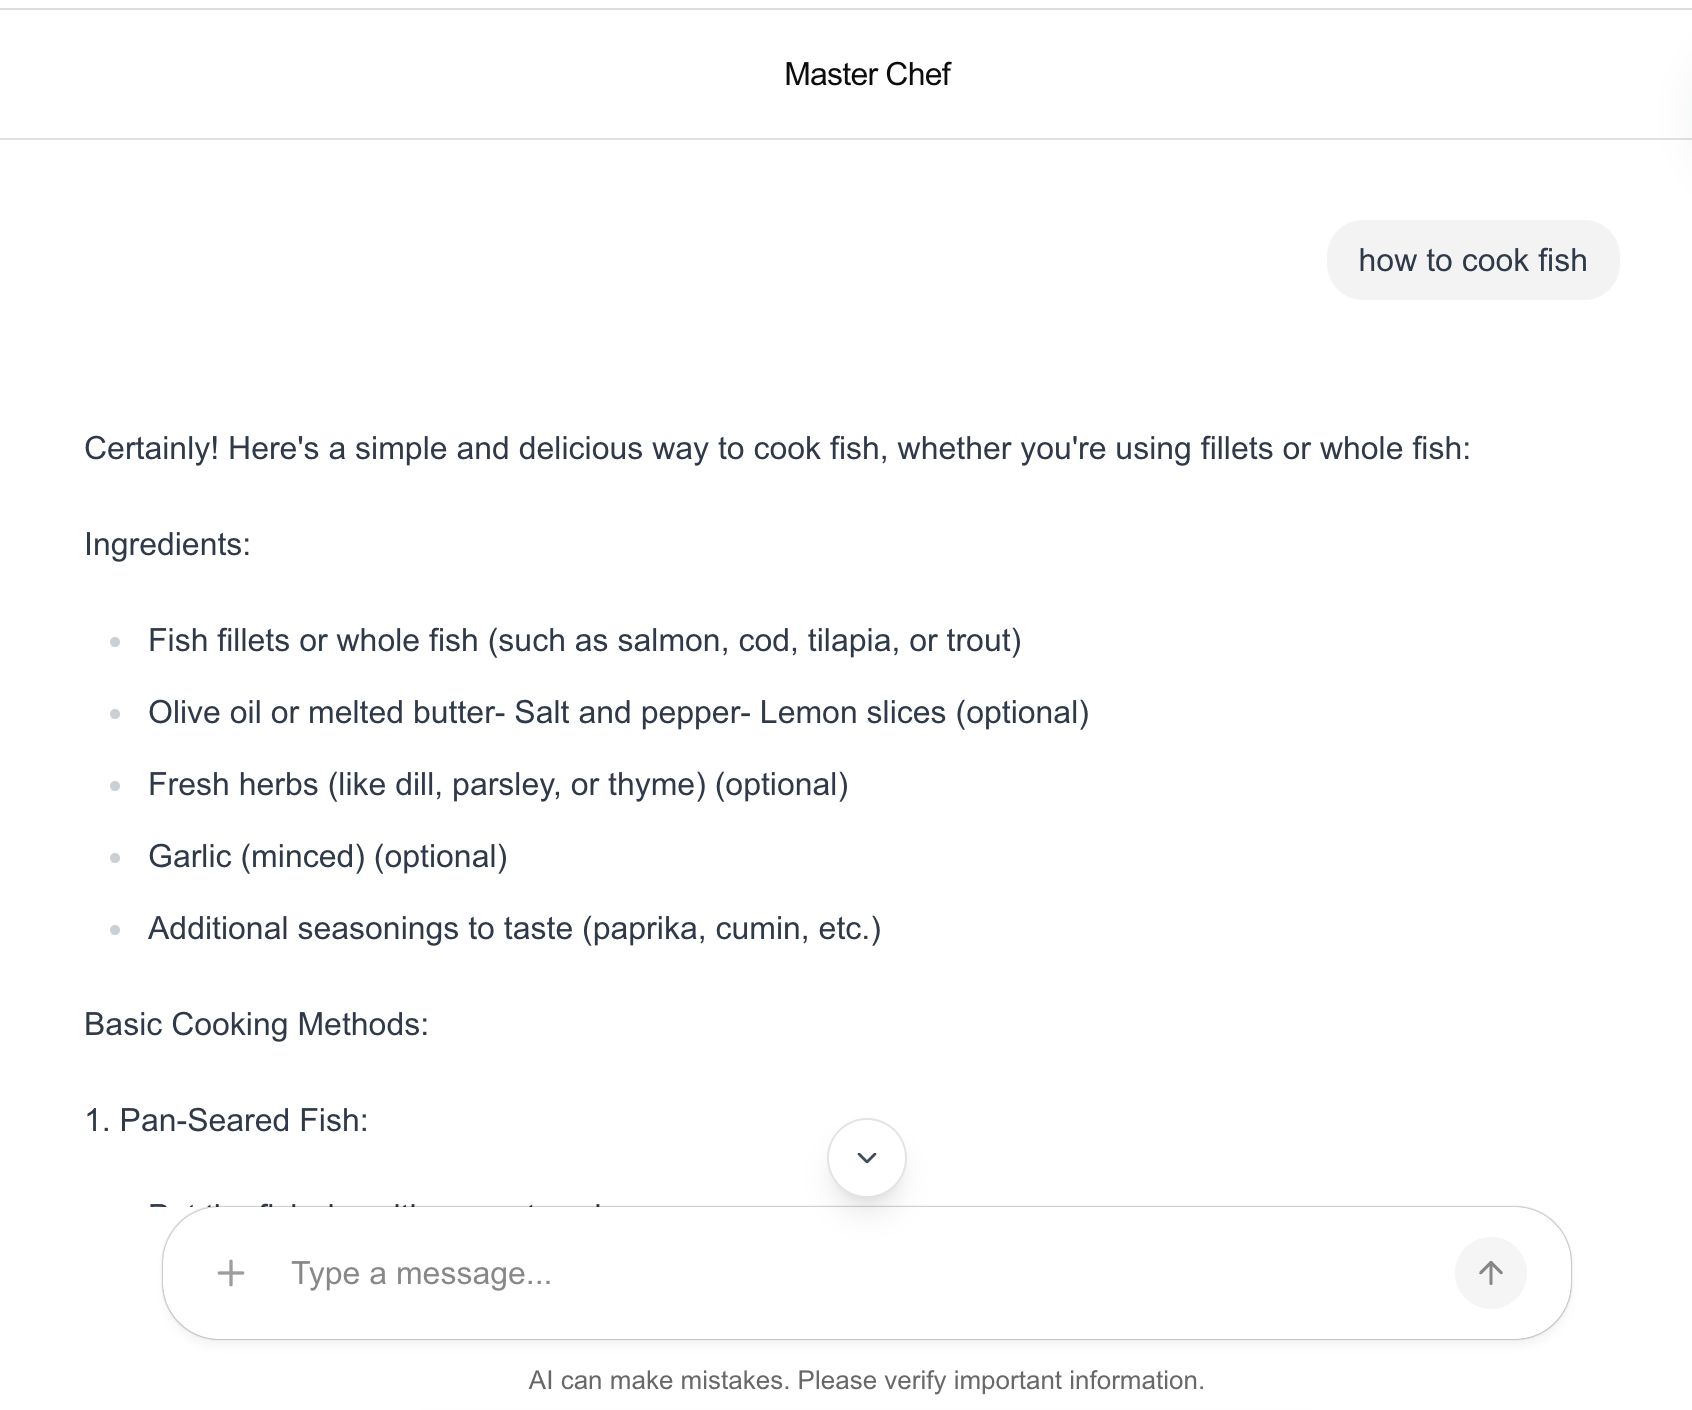
To test the UI, we can run pnpm run dev to start the server, then navigates to http://localhost:3000 to view the UI. Below is the screenshot of AG-UI chat page.